Performing Cicd With Shippable And Heroku
In the preceding recipe, we saw an example of how Docker can be used for testing in a local Dev and QA environment. Let’s look at an end-to-end example to see how Docker is now used in CI/CD environments. In this recipe, we’ll see how we can use Shippable (https://www.shippable.com) to perform CI/CD and deploy it on Heroku (https://www.heroku.com).
Shippable is a SaaS platform that lets you easily add Continuous Integration/Deployment to your GitHub and Bitbucket (Git) repositories, and is completely built on Docker. Shippable uses build minions, which are Docker-based containers, to run workloads. Shippable supports many languages, such as Ruby, Python, Node.js, Java, Scala, PHP, Go, and Clojure. The default build minions are of Ubuntu 14.04 LTS and Ubuntu 16.04. They have also added support to use custom images from Docker Hub as minions. Shippable CI needs information about the project and build instructions in a YAML file called shippable.yml , which you have to provide in your source code repo. The yaml file contains the following instructions:
-
language: This will show the programming language -
python: With this, you can specify different versions of the language to get test in a single build instruction -
build: This is the build pipeline -
ci: These are the instructions for running the build -
on_success: These are instructions after the build succeeds, used to perform deployment on PaaS such as Heroku, Amazon Elastic Beanstalk, AWS OpsWorks, Google App Engine, and others
Heroku is a Platform-as-a-Service ( PaaS ) that enables developers to run and operate applications entirely in the cloud.
For this recipe, we will use the same example code we used in the previous recipe, to first test it on Shippable and then deploy it on Heroku.
Getting ready
Follow the following prerequisites:
-
Create an account on Shippable (https://www.shippable.com).
-
Fork the flask example from https://github.com/kencochrane/heroku-flask-example and clone it to your local machine.
-
Create an app on Heroku for the forked repository with the following steps:
Create an account (https://signup.heroku.com) on Heroku, install the Heroku application, and log in:
$ heroku login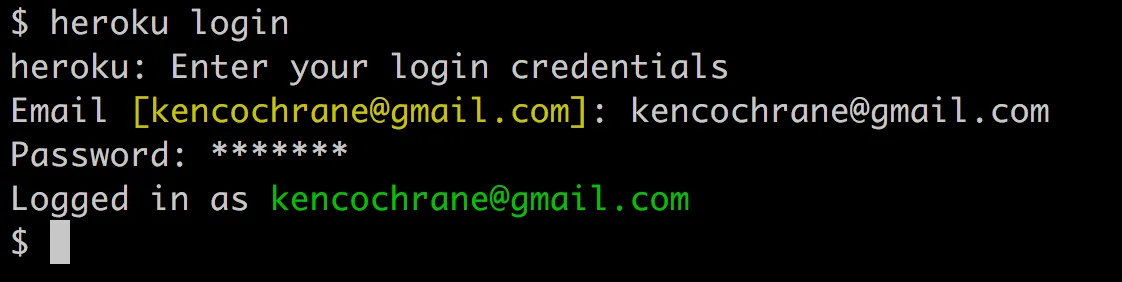
Change your directory to where you cloned your fork from Step 2, and create an app on Heroku:
$ heroku create --ssh-git
Push your code to Heroku to deploy your application:
$ git push heroku master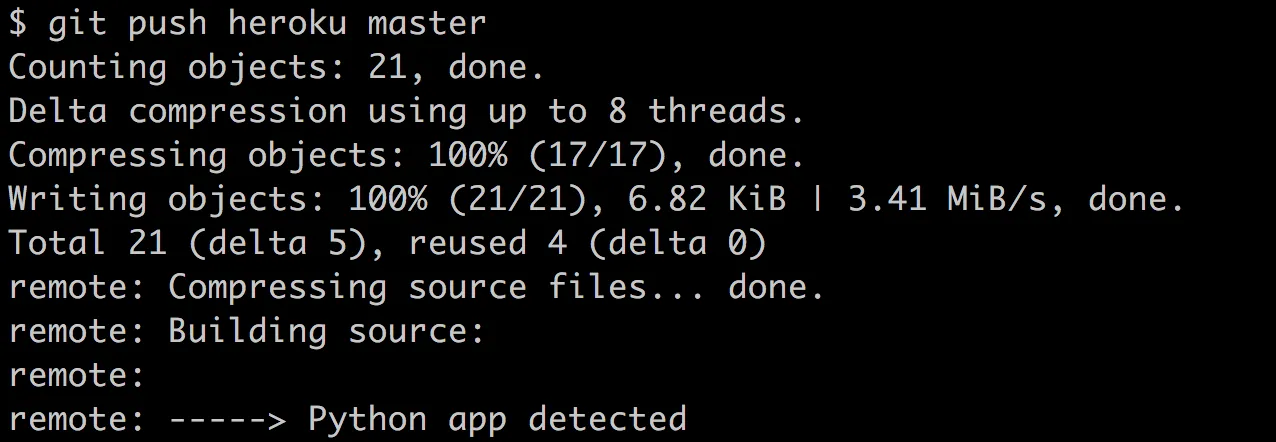
After a minute, your application will be deployed:
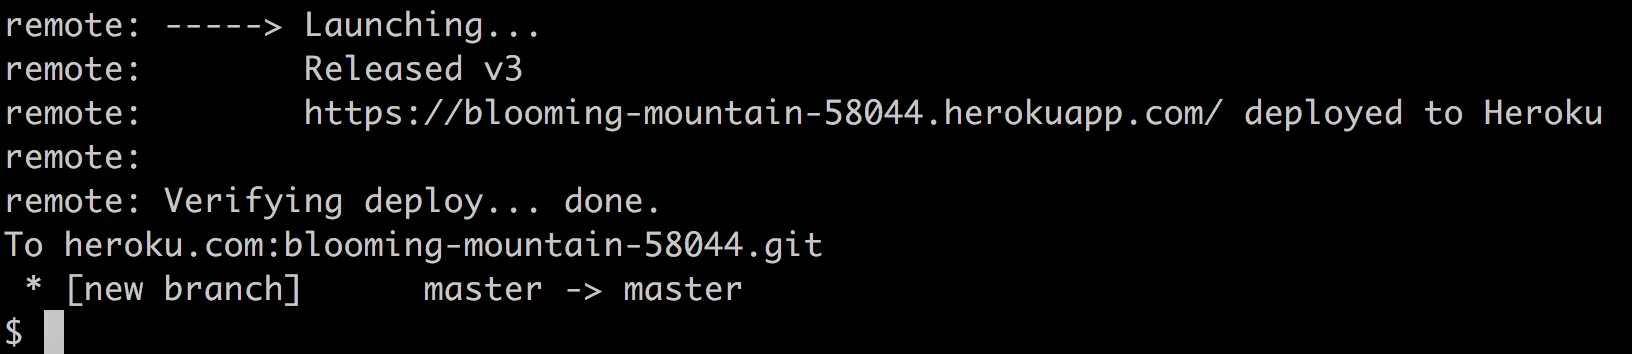
Make sure your application has at least one dynamo, and open the app in your browser, to make sure it is working:
$ heroku ps:scale web=1
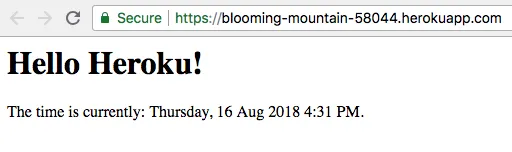
$ heroku open
Your browser should open and load the page for your application. If the result worked, it should look something like the following:
- Update the
shippable.ymlfile in your fork to use your Heroku application’s Git URL:
language: pythonpython: - 3.7build: ci: - shippable_retry pip install -r requirements.txt # Create folders for test and code coverage - mkdir -p shippable/testresults - mkdir -p shippable/codecoverage # run tests - pytest on_success: # my heroku app git urls: # http url: https://git.heroku.com/blooming-mountain-58044.git # git url: git@heroku.com:blooming-mountain-58044.git # use git url not http. # change this value to the value of your app. - git push git@heroku.com:blooming-mountain-58044.git- Commit the changes to your code, and push it to your forked repository.
How to do it…
Perform the following steps:
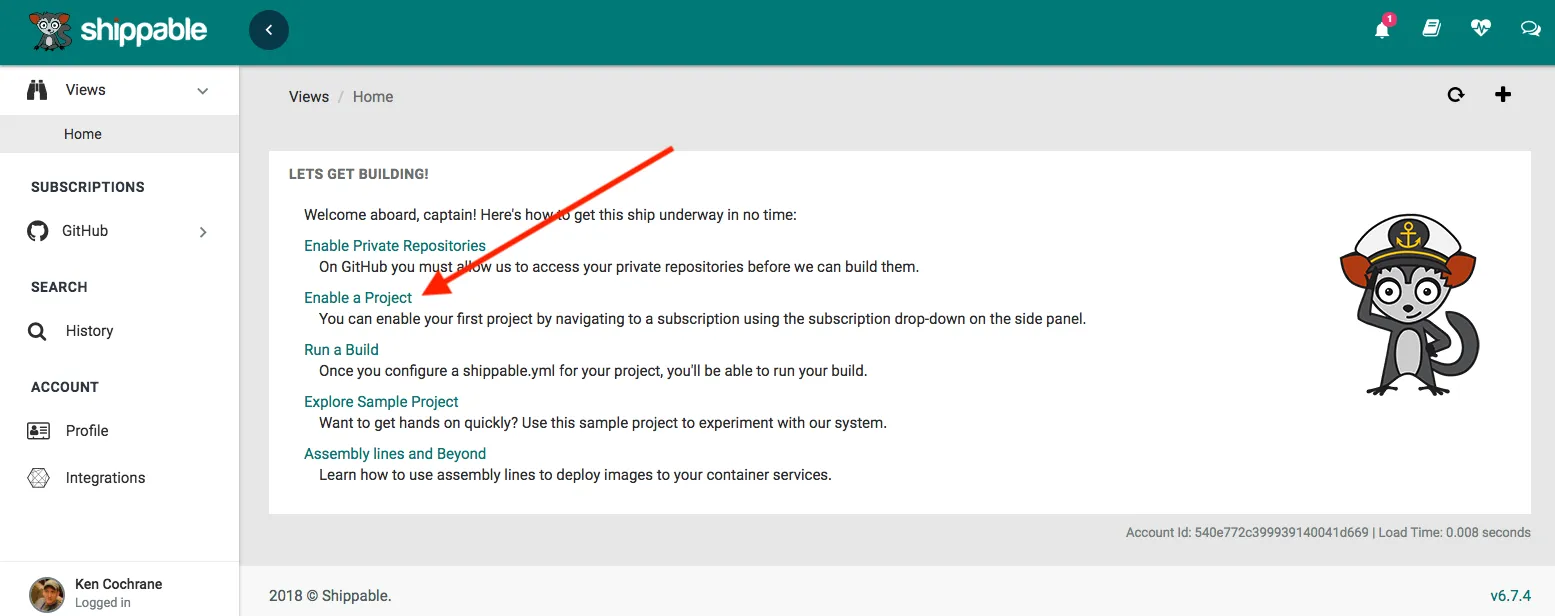
- Log in to Shippable, and select the Enable a Project link:
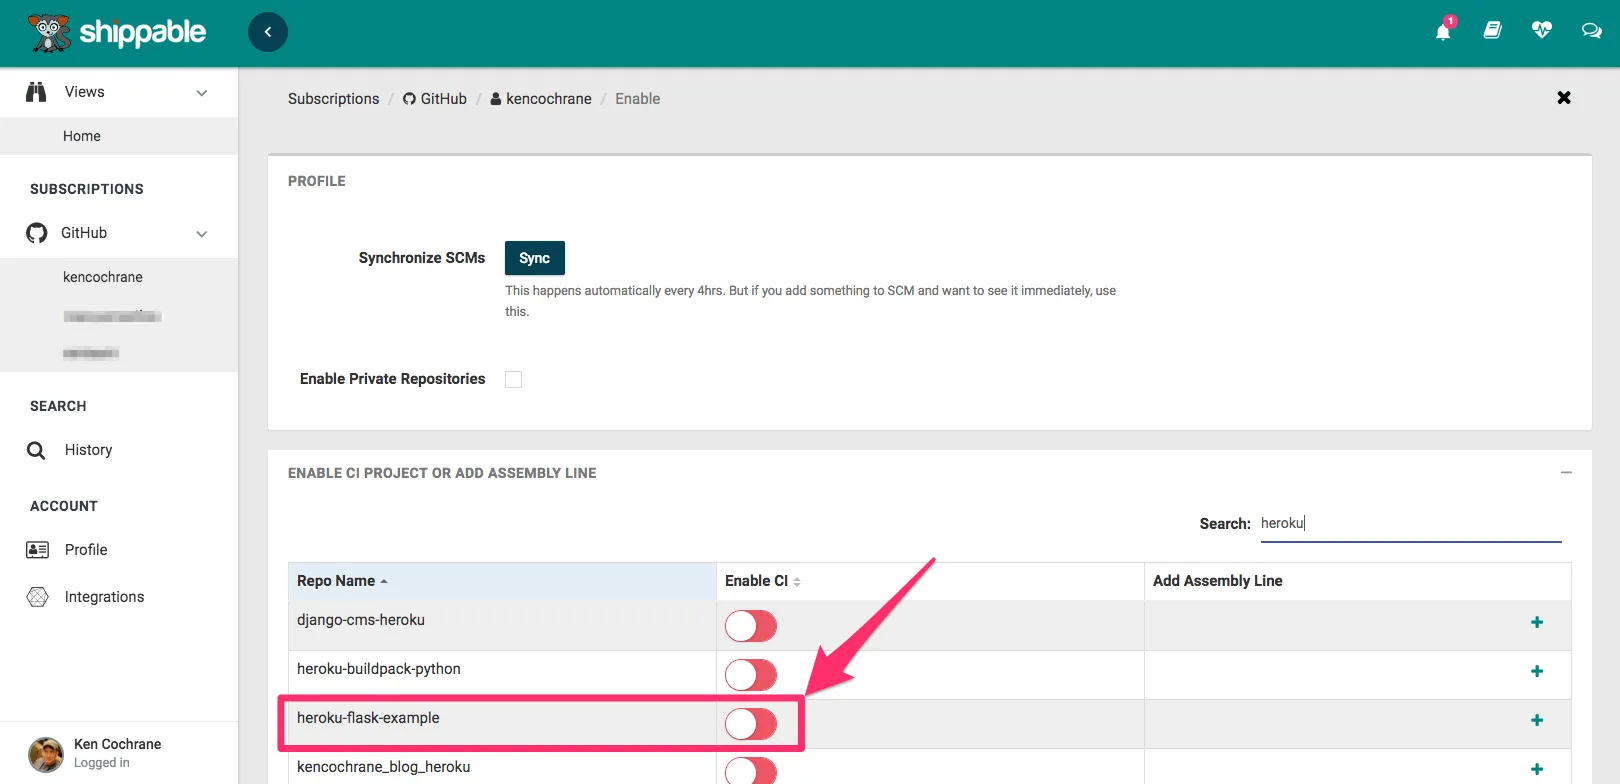
- Then, select the correct subscription on the left, and it will show you a list of your repos below. Select the heroku-flask-example repo:
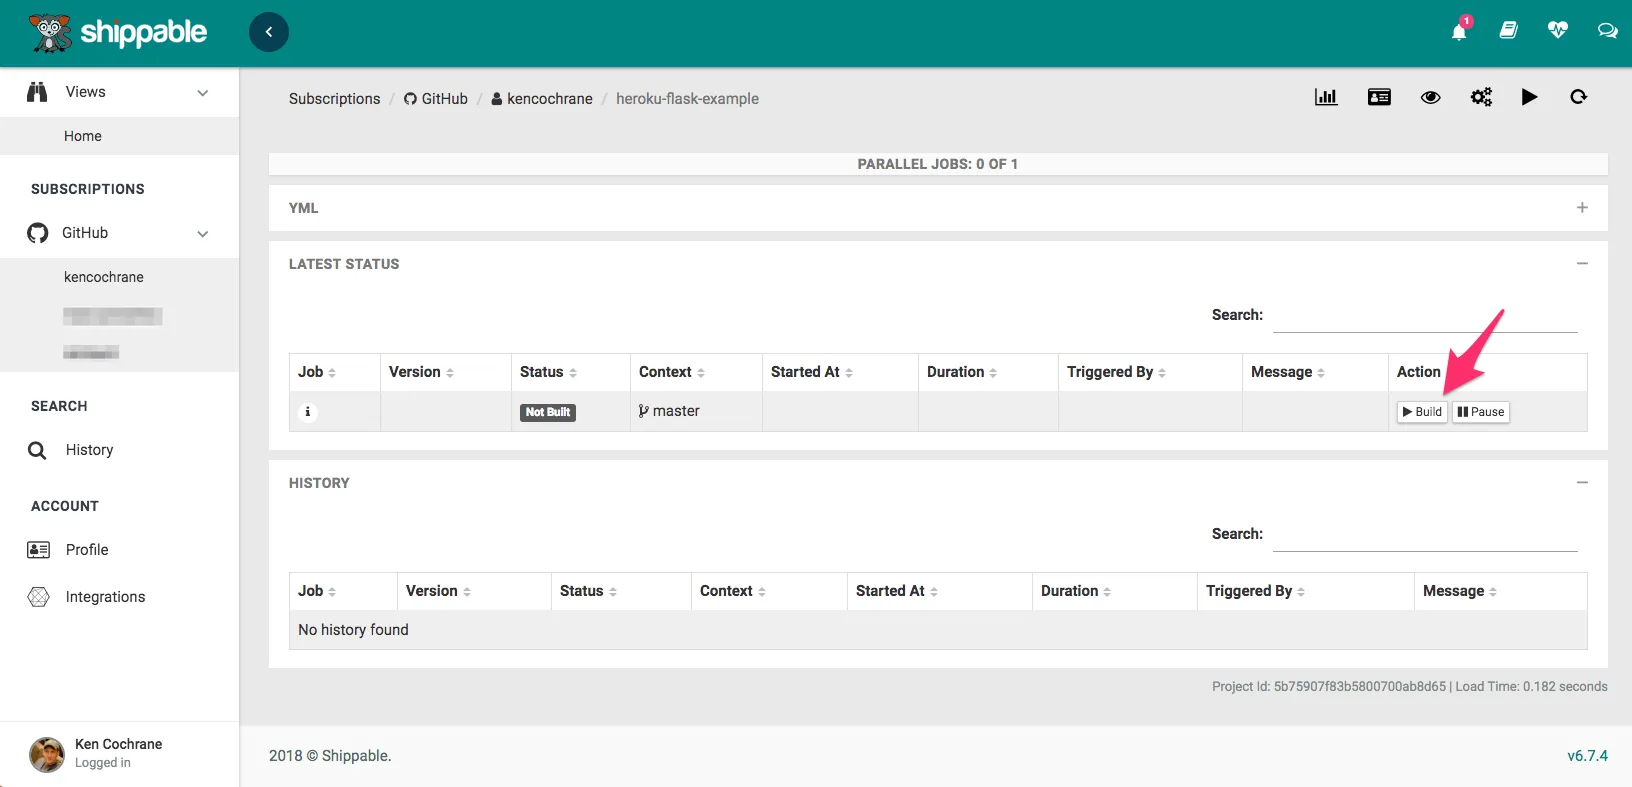
- Click on the Play button and select Branch to build. For this recipe, I chose master:
If the build is successful, you will see the success icon.
Next time, if you do a commit in your repository, a build on Shippable will be triggered and the code will be tested. Now, to perform Continuous Deployment on Heroku, let’s follow the instructions provided on the Shippable website (http://docs.shippable.com/ci/deploy-to-heroku/). Shippable will need to have permission to make changes to our Heroku application; we grant it permission by adding its deployment SSH key to our Heroku account.
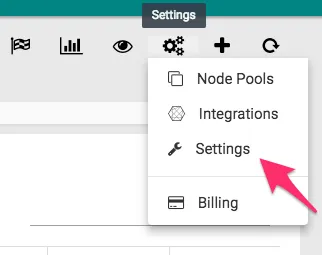
- Get the deployment key from your Shippable dashboard by clicking the little gears icon, and selecting Settings:
- Toward the bottom of the page, there is a Deployment Key section. Copy the key:

- Now that you have the key, go to your Account settings in Heroku:
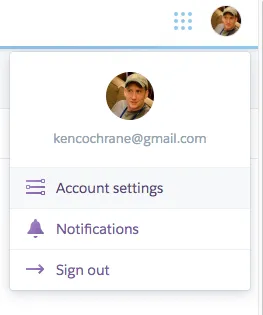
- Scroll down until you see the SSH Keys section, and hit the Add button.

- A window will pop up where you will be able to add the SSH key that you copied from Shippable. Paste the key, and hit Save changes:
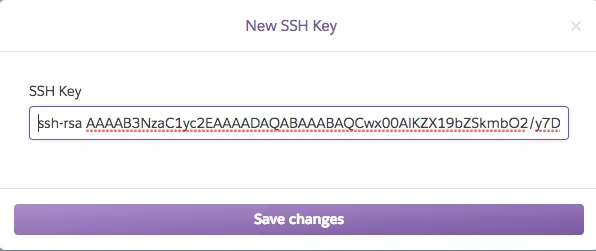
We have now made it so that, when a build is successful, Shippable is able to push changes to Heroku.
How it works…
At every build instruction, Shippable spins up a new container depending on the image and language type specified in the shippable.yml file, and runs the build to perform testing. Shippable knows when to start a build, because it adds a webhook to your GitHub repository when you register your application with them:
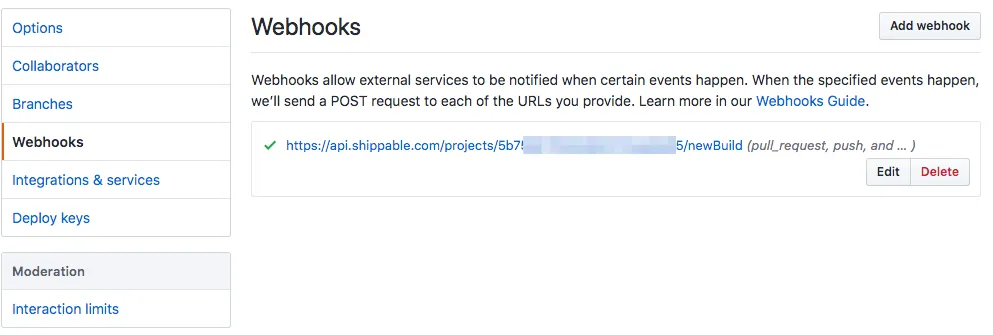
So, every time a change is committed to GitHub, a build on Shippable gets triggered, and after the build is successful, it is deployed to Heroku.
See also
- Detailed documentation is available on the Shippable website at http://docs.shippable.com.